Introduction to DIY Air Purification
In recent years, air quality concerns have grown. From wildfire smoke to concerns about airborne pathogens, the air in our homes may not be as clean as we’d like. But brand-name air purifiers can hit the wallet hard. A DIY (do-it-yourself) approach using a box fan and a MERV 13 filter offers a budget-friendly alternative. Creating your own air purifier can be both a fun project and a way to cleanse your living space of unwanted particles.
DIY air purifiers are not just cost-effective; they’re simple to make. Whether you are dealing with smog, smoke, or just aiming to reduce common allergens, a homemade air purifier can make a difference. With basic materials like a box fan and high-efficiency filters, you can rig up a device that filters out many harmful particles from indoor air. And the good news is that constructing a DIY air purifier doesn’t require expert skills or specialized tools.
By integrating a box fan with a MERV 13 filter, you effectively create a barrier against a range of airborne particles. A MERV (Minimum Efficiency Reporting Value) rating of 13 means the filter can trap fine particles like those found in smoke and certain microorganisms. This introductory guide will help you understand the nuts and bolts of DIY air purification, the benefits of using MERV 13 filters, and the simple steps to put together your own air-cleaning solution.

The Importance of Air Filtration and MERV Ratings
Breathing clean air in your home is crucial for your health. Air filtration systems work to trap and remove unwanted particles from indoor air. These particles include smoke, dust, pollen, and even some viruses. A key element in determining a filter’s effectiveness is its MERV rating.
MERV stands for Minimum Efficiency Reporting Value. This rating tells you how well a filter can catch certain particles. MERV ratings go from 1 to 20. Higher numbers mean better filtration. In simple terms, the higher the MERV rating, the smaller the particles the filter can trap.
For example, filters with a MERV rating between 1 and 4 can catch large particles like pollen. MERV 5 to 8 are good for mold spores and pet hair. If you need to trap smoke or bacteria, you would look at filters with a MERV rating of 13 to 16. The highest ratings, MERV 17 to 20, are mostly for hospitals because they can filter out very tiny particles, like viruses.
For home use, especially if you are concerned about smoke from wildfires or want to reduce airborne pathogens, a MERV 13 filter is a good choice. Filters with this rating can catch very fine particles, about 1/50th the size of a human hair.
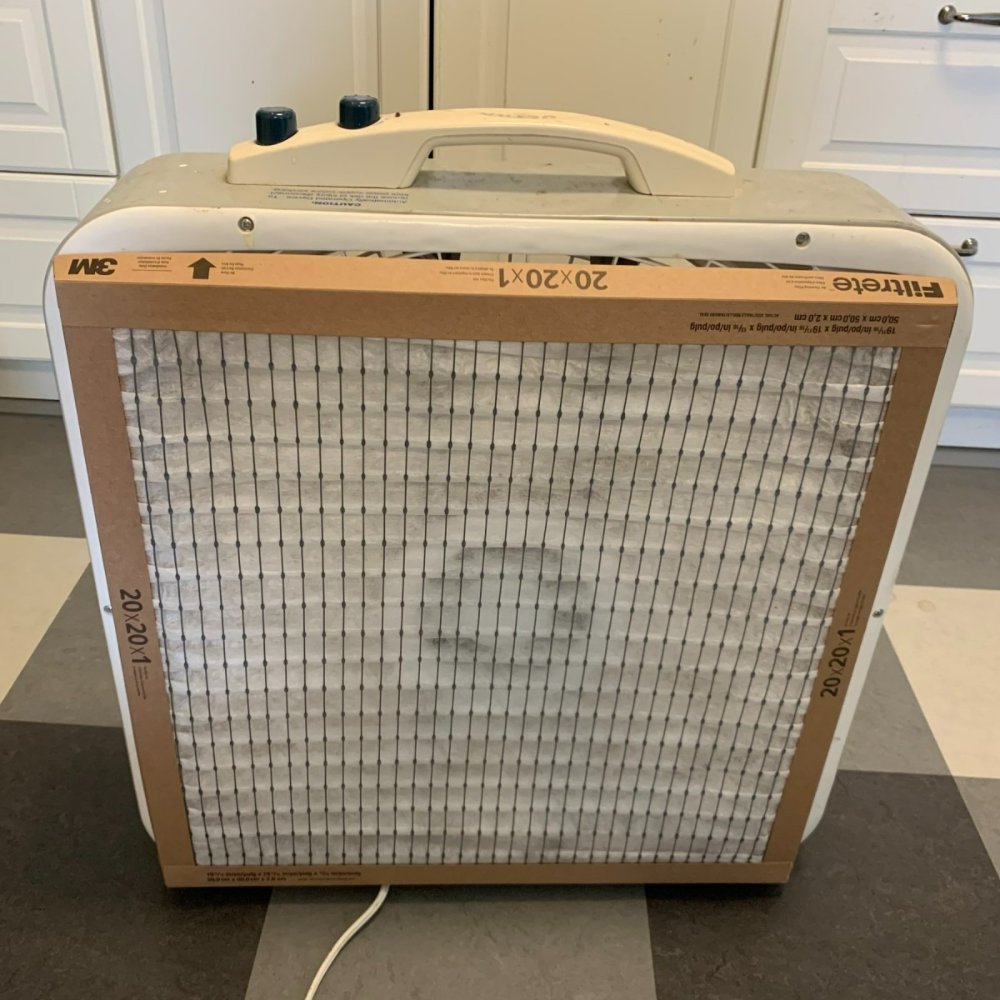
Using a box fan with a MERV 13 filter creates a simple and budget-friendly air purifier. This combination is effective at improving your home’s air quality. It works by pulling air through the filter, trapping harmful particles, and then circulating cleaner air back into the room. It’s a smart way to protect your family from the potential health impacts of polluted indoor air.
Advantages of Using a Box Fan with a MERV 13 Filter
Using a box fan with a MERV 13 filter has several key advantages. It’s an option that is not only wallet-friendly but also effective. Let’s explore why this DIY air purification method stands out.
Cost-Efficiency: Buying a branded air purifier can be costly. A box fan combined with a MERV 13 filter creates a similar effect at a lower price. You can save money while still cleaning your air.
Ease of Assembly: You don’t need special tools or deep DIY skills. Attaching the filter to a box fan is straightforward and simple.
High Particle Capture Rate: A MERV 13 filter can trap very fine particles. These include smoke, bacteria, and some viruses. This level of filtration can aid in safeguarding your indoor air quality.
Flexibility and Portability: The DIY purifier is easy to move around. Place it where you need it most, like your bedroom or living room.
Customization: You can adapt the setup to meet your needs. For example, add extra layers of filters if needed.
Improved Air Quality: Clean air is vital for health. This setup helps remove harmful particles from your home’s air. It makes breathing safer for you and your loved ones.
Remember to keep the keyword usage seamless and not overuse them. This way, the content remains informative and engaging without looking like it’s trying hard to fit in keywords.

Materials Needed for Your DIY Box Fan Air Purifier
To get started on your DIY air purifier box fan, gather the following materials. This setup is budget-friendly, and the parts are easy to find.
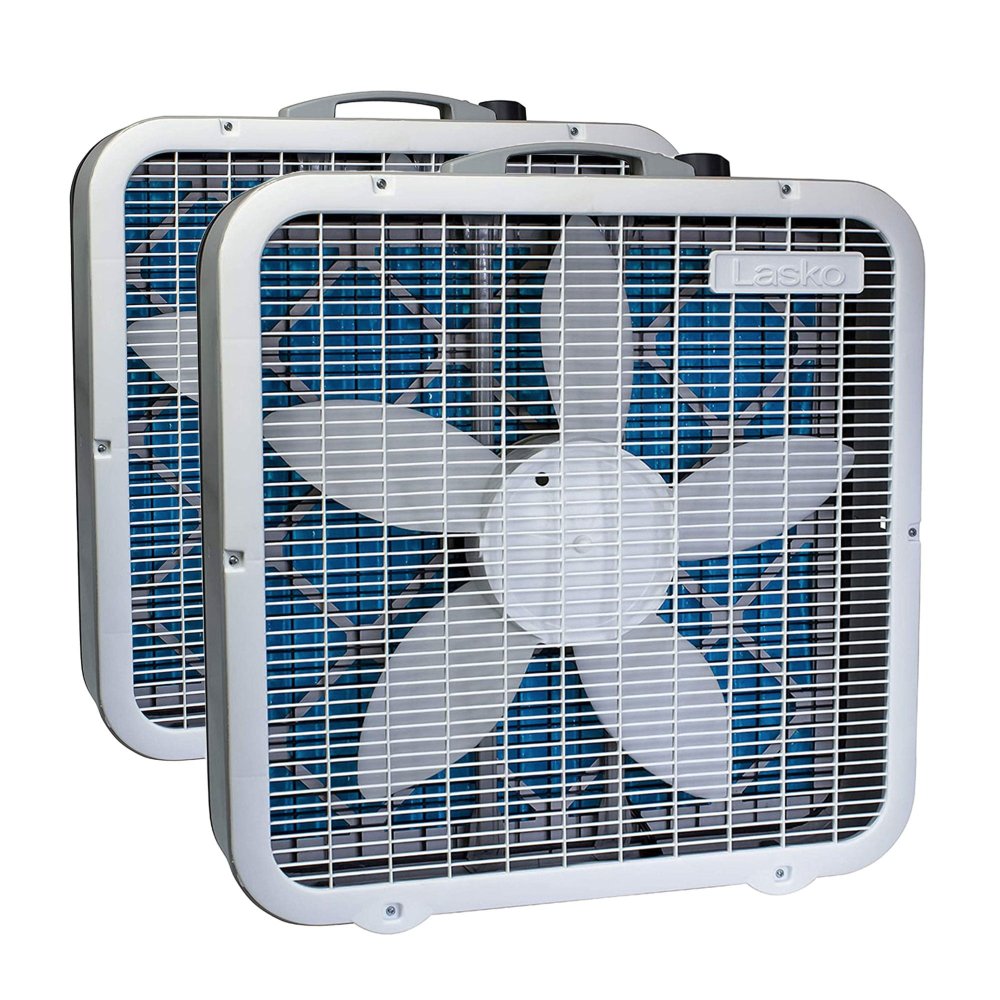
- Box fan: A standard 20-inch box fan works well for this project. It’s the main component that moves the air through the filter.
- MERV 13 filter: A MERV 13 filter is essential for trapping small particles effectively, including smoke, bacteria, and some viruses.
- Duct Tape: Sturdy duct tape is required to attach the filter securely to the box fan.
- Cardboard: A piece of cardboard cut to the size of the box fan will help to stabilize the filter in place.
These simple materials work together to create an effective air cleaner. The box fan pulls air in, pushing it through the MERV 13 filter, which traps the particles. The clean air then circulates back into the room. Remember, the quality of your DIY air purifier depends on using the right materials and putting them together accurately.
Step-by-Step Guide to Building Your Box Fan Air Purifier
Ready to create your DIY air purifier with a box fan? Here is a simple guide.
- Gather Materials: You need a 20-inch box fan, a MERV 13 filter, duct tape, and a cardboard piece.
- Secure the Filter: Place the MERV 13 filter at the back of the fan. The side with the arrow should face out.
- Use Duct Tape: Tape the filter to the fan edges. Ensure it’s tight with no gaps.
- Prep the Cardboard: Cut the cardboard to match your fan’s size. This will help support the filter.
- Attach the Cardboard: Tape it as a backing. This keeps the filter stable.
- Check the Setup: Make sure the fan works. The set up should pull air through the filter smoothly.
That’s it! You have a simple air purifier, using a DIY air purifier box fan setup. It’s ready to clean your room’s air. Just plug in the fan and turn it on. Position it in your room for the best air flow.
For better air cleaning, run your DIY purifier regularly. Especially during wildfire season or if someone is sick at home. Remember to replace the filter when it looks dirty, or every few months, depending on use.

Enhancing Your DIY Air Purifier for Optimal Performance
Once you’ve assembled your DIY air purifier, consider these enhancements for optimal performance:
Seal Any Gaps: Ensure there are no spaces between the fan and the filter where air might bypass the filtration. Use additional duct tape if necessary.
Layer Up: Adding more than one MERV 13 filter can increase the particle capture rate. Just make sure the fan can still move air through the filters effectively.
Regular Checks: Examine your setup often. Check for wear and tear and make sure it’s still running well.
Filter Replacement: Swap out the MERV 13 filters every three to six months, or sooner if they look dirty. This will keep your air purifier working at its best.
Fan Speed: Adjust the fan to a lower setting if noise is an issue, without compromising air quality.
By refining your DIY air purifier box fan’s setup, you’ll maintain a cleaner, healthier atmosphere at home. This aids in protecting your family’s health and improving their comfort. With these enhancements, your DIY solution can rival some commercial air purifiers.
Tips for Using and Maintaining Your DIY Air Purifier
Proper use and regular maintenance are key to the effectiveness of your DIY box fan air purifier. Here are some practical tips to ensure it performs well over time:
- Optimal Placement: Find a central spot in the room for your purifier. This helps circulate clean air evenly. Avoid corners or tight spaces where airflow could be blocked.
- Consistent Running: Keep the purifier on, especially during high pollution days like wildfire season or in allergy season. Constant filtering means cleaner air.
- Adjust Fan Speed: Change the box fan speed based on need. Use a high speed for more air circulation, and a lower one to reduce noise.
- Monitor Filter Life: Check your MERV 13 filter every month. If it’s dirty, change it. Generally, replace filters every three to six months.
- Secure Sealing: Make sure the filter is tightly taped to the fan. No air should sneak past the filter edges.
- Layering Filters: Consider adding an extra MERV 13 filter for higher efficiency. Double-check that the fan can push air through the added resistance.
- Regular Inspections: Look at your setup often. Make sure it’s working well and that there are no signs of wear or tear.
By keeping these tips in mind, you can maximize the lifespan and performance of your DIY air purifier box fan and enjoy cleaner air in your home.
Comparing DIY Air Purifiers to Commercial Options
When choosing between a DIY air purifier and commercial models, consider these points:
Cost: DIY setups are often less expensive than store-bought purifiers. Building a DIY air purifier box fan can be a budget-saver.
Effectiveness: A properly assembled DIY purifier with a MERV 13 filter can rival the performance of commercial units, especially for particle removal.
Ease of Maintenance: DIY air purifiers are simple to maintain. Regular filter changes are usually all that is needed.
Customization: You can tailor a DIY purifier to your needs. Add more filters or tweak the design as you see fit.
Portability: Home-built air purifiers are generally lightweight and easy to move around your home as needed.
Speed and Convenience: A DIY air purifier box fan is quick to set up. Commercial units might take more time to get running.
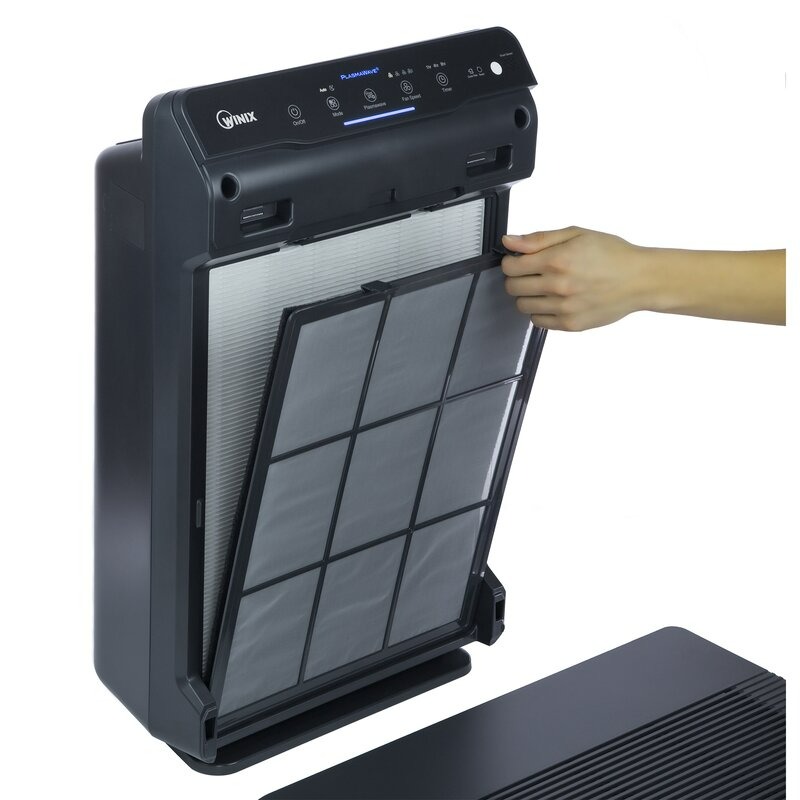
On the downside, DIY purifiers lack advanced features like automatic sensors and might not have the same lifespan as commercial units. Commercial options generally have refined designs, longer filter life, and warranties adding peace of mind. Consider your specific needs, budget, and whether you enjoy DIY projects when deciding which option to go for.