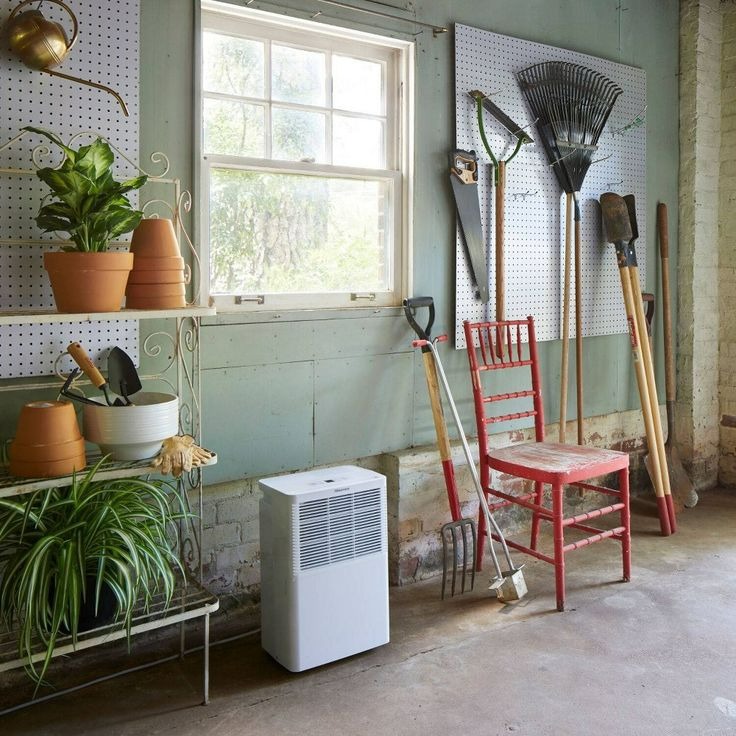
Introduction to Home Dehumidifying
Excess humidity can make your home uncomfortable. It breeds allergens like mold and dust mites. A dehumidifier helps to reduce the moisture in the air, making your living space healthier and more comfortable. DIY dehumidifiers are a cost-effective alternative to commercial ones. They can be simple to make using everyday materials. Building a DIY dehumidifier also gives you a sense of accomplishment. Plus, it’s a green approach to controlling humidity. This blog will guide you through making a dehumidifier at home with ease and safety.
The Science Behind Homemade Dehumidifiers
Understanding how DIY dehumidifiers work helps ensure their effectiveness. The process taps into the physical principle of condensation. Air holds water vapor, and when it meets a cooler surface, the vapor condenses into droplets. This is the same concept on which commercial dehumidifiers operate, but DIY versions use simpler, more accessible materials to achieve this.
The key to a successful DIY dehumidifier is creating a surface where condensation can easily occur. Typically, a homemade dehumidifier uses a cooling agent, like ice or cool water, to lower the temperature of a surface, encouraging condensation. The water vapor in the air then condenses into water on the cooler surface — reducing the overall humidity. The collected water can be discarded periodically, just as it would be with a store-bought dehumidifier.
For a DIY dehumidifier to work effectively, the temperature differential between the air and the cooling surface is crucial. The greater the difference, the more water will condense. Moreover, maintaining airflow around the dehumidifier is vital. It ensures that moist air is constantly coming into contact with the cooling surface, optimizing moisture removal. Adequate ventilation supports this process by dispersing dry air throughout the room and bringing in fresh, moist air to dehumidify.
In conclusion, while the mechanics of a DIY dehumidifier are relatively simple, leveraging these basic scientific principles efficiently can create an effective solution to humidity problems at home.
Necessary Materials for Building a DIY Dehumidifier
To start building your DIY dehumidifier, gather the following essential materials. These items are easily accessible and budget-friendly, ensuring that your homemade solution remains cost-effective.
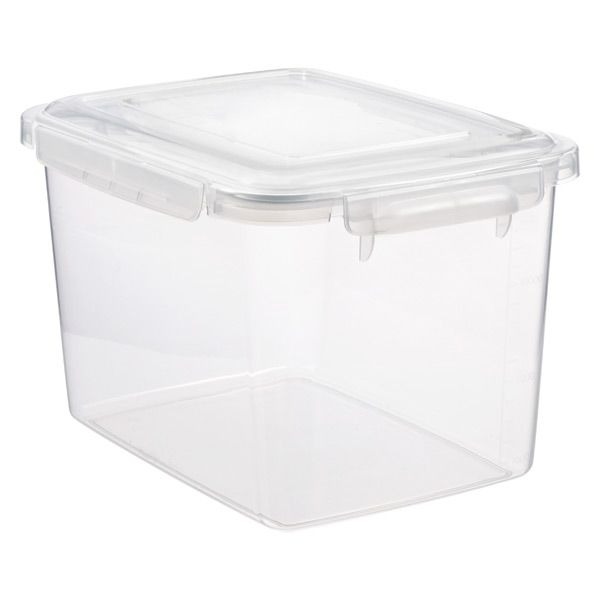
- A large container: Choose a sturdy and spacious container to collect the condensed water.
- A cooling agent: Ice cubes or cold water bottles will serve as the cooling element.
- A smaller container: This will hold the cooling agent and should fit inside the larger one.
- A metal sheet or plastic tray: This acts as a condensing surface for water vapor.
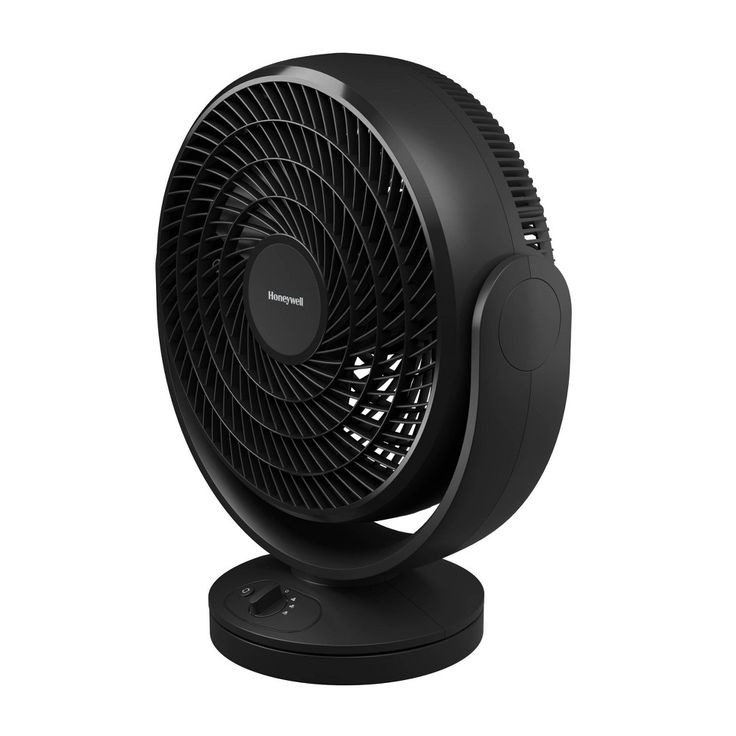
- A fan or a small blower: A fan enhances air circulation, speeding up the condensation process.
- Cloth or sponge: These can help absorb moisture and prevent splashing.
- A drill or sharp tool: You’ll need this if you plan to make holes for improved airflow.
Ensure you have all items ready before you begin. This will make the construction process smooth and hassle-free. The goal is to create an effective dehumidifier using these simple materials, tapping into the physics of condensation to capture excess moisture from the air.
Step-by-Step Guide to Creating Your DIY Dehumidifier
Follow these easy steps to build your own effective DIY dehumidifier:
- Prepare the Containers:
Place the smaller container inside the larger one. This creates a space for collecting water.
- Add the Cooling Agent:
Fill the smaller container with ice or cold water bottles. These will cool the air and cause condensation.
- Set Up the Condensing Surface:
Lay the metal sheet or plastic tray on top of the small container. It should cover it well. Make sure it is stable and flat.
- Enhance Airflow:
Use the drill or sharp tool to make holes in the large container’s sides. This lets air pass through more easily.
- Position the Fan:
Place a fan or small blower nearby to move air over the condensing surface. This increases condensation.
- Absorb Excess Moisture:
Place a cloth or sponge in the large container. It absorbs drips and prevents splashing.
- Monitor and Empty:
Check your DIY dehumidifier regularly. Empty the collected water as needed to maintain efficiency.
By following these steps, you will have your own diy dehumidifier up and running. It will help in reducing the humidity in your home environment. Remember to place it in an area where it can work best, like damp basements or laundry rooms.
Safety Tips When Using a Homemade Dehumidifier
When you use a DIY dehumidifier, safety is key. Here are tips to keep you safe:
- Place your dehumidifier on a flat surface. This prevents it from tipping over.
- Keep it away from water sources. Electricity and water can cause hazards.
- Use gloves when handling ice. This will protect your hands from cold burns.
- Check for spills regularly. Water on the floor can lead to slips and falls.
- Keep it out of reach of children and pets. They might knock it over or get hurt.
- Don’t cover the dehumidifier. Proper airflow is essential for it to work right.
- Turn off the fan when not in use. This saves energy and reduces risk.
- Regularly inspect for ice buildup. Too much ice can block airflow.
Follow these tips to safely enjoy the benefits of your homemade dehumidifier.
Maintenance and Efficiency Tips for Your DIY Dehumidifier
To keep your DIY dehumidifier functioning at its best, regular maintenance is essential. Here are some straightforward steps to ensure peak performance:
- Check for Ice Buildup: Clear ice from the cooling element often. It keeps air flowing smoothly.
- Empty Water Regularly: Don’t let water overflow. Empty the large container promptly when it’s full.
- Clean Surfaces Often: Wipe the condensing surface clean for effective moisture capture.
- Assess Air Flow: Make sure ventilation remains unblocked for maximum efficiency.
- Monitor Temperature: The cooling agent’s temperature affects condensation. Refresh it to maintain coldness.
- Examine for Leaks: Check containers for leaks to prevent water damage.
- Secure Connections: Ensure the fan is stable and the containers don’t shake.
By adhering to these tips, you strengthen your dehumidifier’s operation and lengthen its lifespan. Efficiency is key. An efficient unit will be more effective in pulling moisture from the air. This is good for the air quality in your home. It also saves energy and effort over time. Keep your DIY dehumidifier well-maintained and it will serve you well for many humid days to come.
Alternative Natural Dehumidifying Techniques
In addition to your DIY dehumidifier, there are several natural methods to reduce humidity at home. These techniques can complement your device for a more comfortable environment.
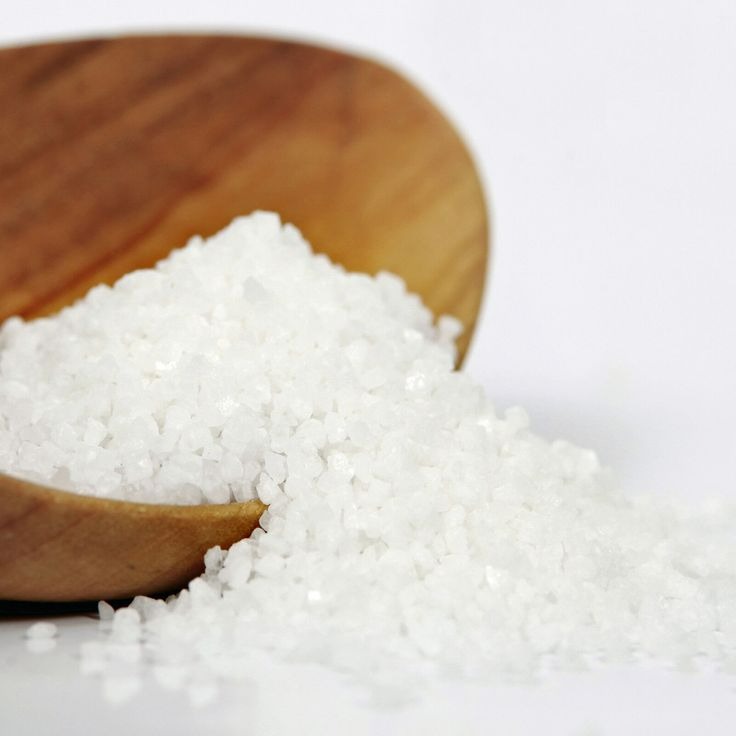
- Use Rock Salt: Rock salt is a natural hygroscopic material. It absorbs moisture from the air. Fill a bucket with rock salt and place it in humid areas.
- Increase Ventilation: Open windows when possible. This allows for air exchange and reduces indoor moisture levels.
- Grow Indoor Plants: Certain plants, like Boston ferns, absorb moisture through their leaves. Incorporating these into your home helps control humidity.
- Baking Soda: This common kitchen ingredient can absorb dampness. Place it in containers around the house for a subtle effect.
- Charcoal Briquettes: Charcoal is highly absorbent. Use it in containers to trap excess humidity.
- Utilize Fans: Fans improve air circulation. They help disperse moisture and can aid other dehumidifying methods.
- Rely on Sunlight: Sunlight naturally reduces moisture. Let sunlight in during the day to dry out damp areas.
These natural dehumidifying techniques, coupled with your homemade dehumidifier, can effectively manage indoor humidity levels. For the best results, use multiple methods together and adjust as needed for your particular environment.
Final Thoughts on DIY Home Dehumidification
To wrap up, a homemade dehumidifier can be a great addition to your home. It’s a low-cost, efficient way to control moisture levels. Remember, the effectiveness of your DIY dehumidifier hinges on proper setup and maintenance. Make sure to follow the guide closely and adhere to the tips provided.
From gathering materials to the final assembly, the process is straightforward. Safety, of course, should be your top priority. Always use caution when working with water and electricity. Don’t forget to regularly check for ice and water buildup. Empty and clean the unit to keep it running smoothly.
While a DIY dehumidifier can significantly assist in humidity control, it’s also wise to combine it with natural methods. Techniques like using rock salt or improving ventilation complement the dehumidifier’s work. The goal is to create a comfortable and healthy living space for you and your family.
Keep experimenting with different natural methods alongside your dehumidifier. You may find a combination that works perfectly for your specific needs. With a little effort, you can improve your home’s air quality and comfort. Thank you for following this guide on how to make a DIY dehumidifier at home.